Pumpkins
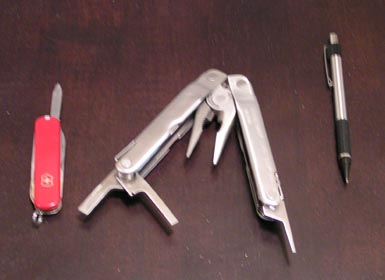
a small knife
various sizes of scrapers (Leatherman or screwdrivers).
mechanical pencil or other poking device (yes, that
is the technical term)

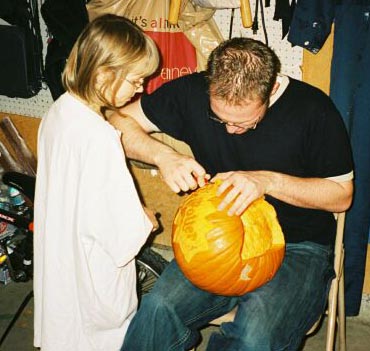
How to Carve Like Mike
1. Select a template. You can draw
your own, or find them online. One good website is
“The Pumpkin Wizard,” at http://www.carvingpumpkins.com/
2. Select a pumpkin the right shape
for your template.
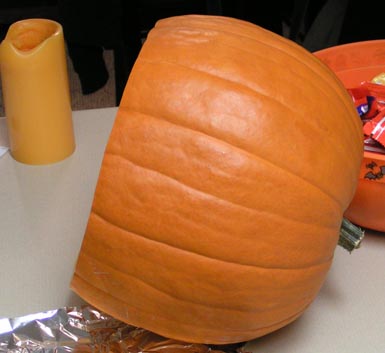
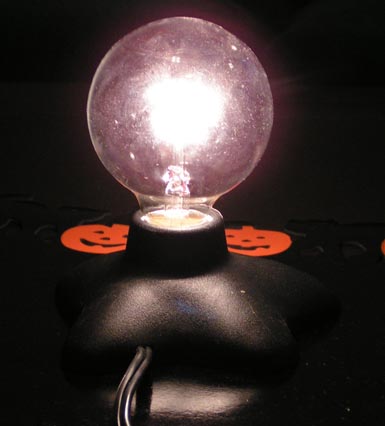
3. Cut the BOTTOM off the pumpkin and muck
it out. I carve out the bottom so the pumpkin
will stand up straight and so I can put an electric
light underneath (25 watt bulb) (see
picture 12). When mucking out the pumpkin, scrape
the inside portion of where you will carve until it
is smooth. This will let equal amounts of light through.
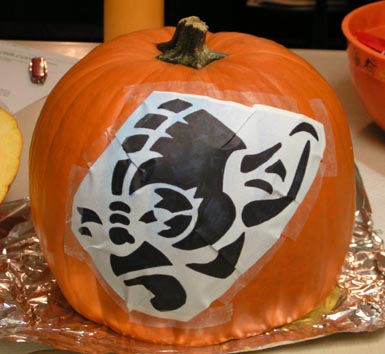
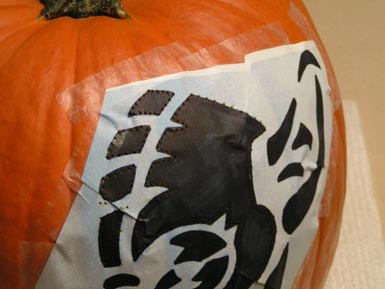
4. Attach your template to the pumpkin with
scotch tape.
5. You will need a small knife and various
sizes of scrapers. I use my Leatherman, but
different sizes of screwdrivers will work. You will
also need a mechanical pencil or other poking device.
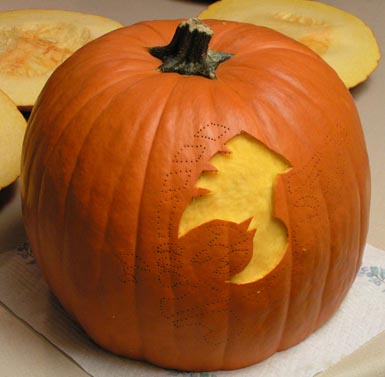
6. Poke holes along the edges of the black
marks on the template. In this case, the
black spots will become the lighted parts of the pumpkin
when you’re done carving.
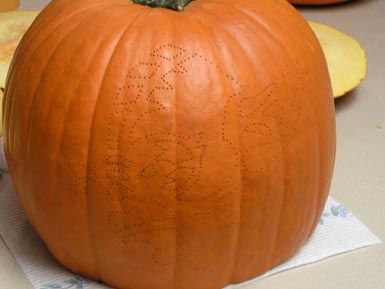
7. When you’re done, tear off the template
and throw it away.
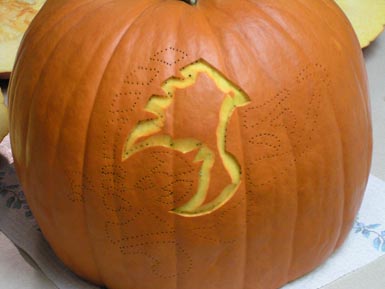
8. Next, cut along the holes you’ve
poked, but not all the way through the pumpkin. Then
make cuts at a 45º angle or so to the first cut.
(See picture 8) This
helps remove the outer orange skin from the pumpkin.
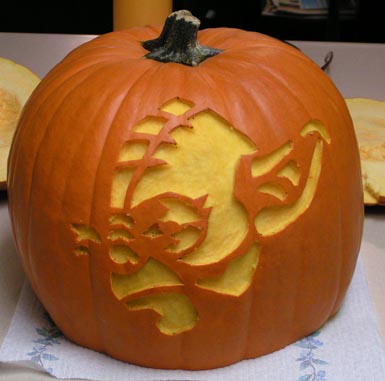
9. Use the knife to cut off as much of the
outer orange skin as possible, while making the cut-out
portion as smooth as possible.
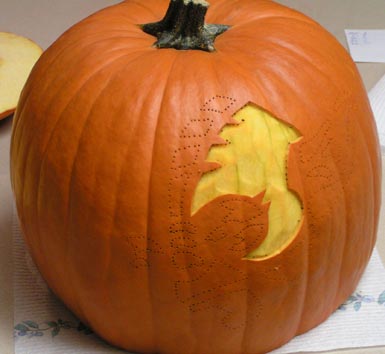
10. Now use the scrapers to scrape off the
“meat” of the pumpkin. Scrape
off the meat so what is left is smooth, but don’t
scrape all the way through the pumpkin. About ¼
inch to ½ inch is good.
11. Do this for every section of the template.
12. You’re done! Put a 25 watt bulb
inside the pumpkin.
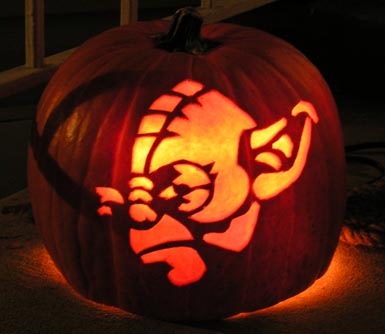
13. Display. (See
Yoda picture).
|